How to... Make Coronation Bunting, Liberty-Style
If you plan to join the Brits in celebrating the Coronation of King Charles III, put a #LibertyCraftClub spin on your party decorations using our expert guide
Read more
How to... Make Coronation Bunting, Liberty Style
If you plan to join the Brits in celebrating the Coronation of King Charles III, put a #LibertyCraftClub spin on your party decorations using our expert guide
By: Charlotte Olby
No coronation party is complete without the most quintessentially British of all decor: bunting. So why not put your #LibertyCraftClub skills to the test and throw a royal party with hand-crafted decorations of your own. Whether you’re a craft connoisseur or blossoming beginner (where have you been?); our expert step-by-step guide on how to make bunting will make crafting a breeze. Plus, it’s the perfect way to add a personalized touch to your street party, and gain you some kudos with the neighbors.
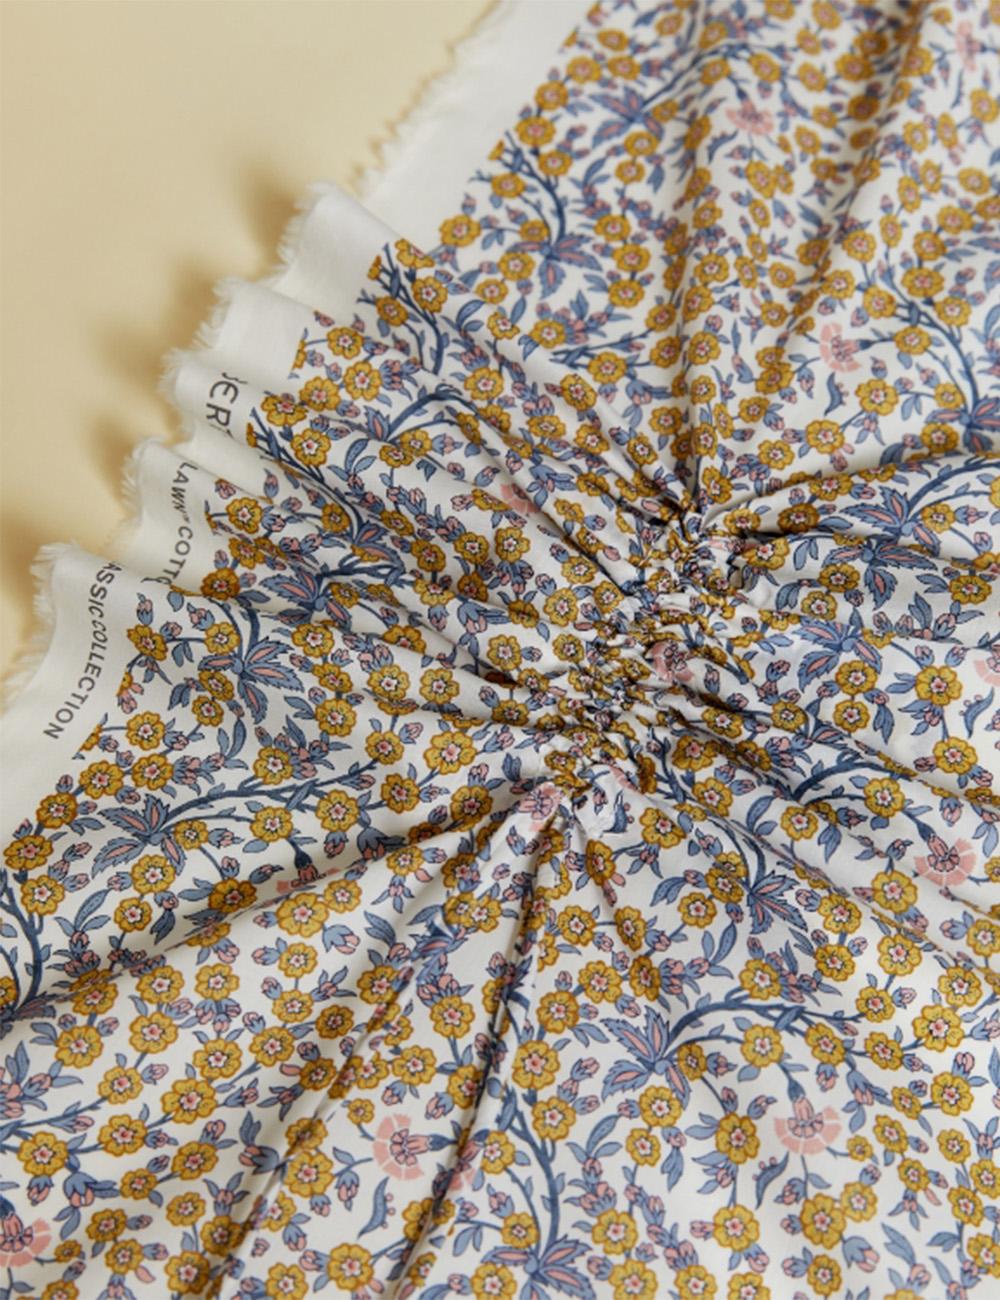
In homage to the home of our iconic Tudor store in the English capital, the Liberty design team has captured the joys of the city in The London Collection, a series of prints celebrating everything from notable landmarks to red buses, pigeons to swans, Trooping the Colour and of course: the up-coming Coronation. All that’s left to do is to select your favorite print - for this tutorial we’ve used alternating colorways of our Windsor Ribbon Organic Tana Lawn™ Cotton - and get making.
The Kit List
1.
Step One: Create a Template
Cut a paper template for yourself and use this to trace out triangles of fabric, made to your desired size.
Step Two: Cut Your Triangles
Cut as many triangles as you’d like (depending on how long you want your bunting to be) in pairs, i.e. two pieces of fabric per triangle.
2.
3.
Step Three: Stitch ‘em Up
Pairing right sides together, stitch along the two longer sides leaving the top section open.
Step Four: To the Point
Snip off the bottom point (this makes it easier to get a point when turned right way around) and turn inside out, right sides out, and use a pin to poke out the point fully. Repeat all steps for each triangle.
4.
5.
Step Five: Press Ahead
Measure out how much bias binding you want to use - this depends on how long you want your garland to be. Iron the binding and press each triangle so that your edges are neat to work with and ready to assemble.
Step Six: Tuck Under
Cut the top edge points of triangles so that they can be tucked under the bias binding neatly and slip each triangle under your bias binding fold and pin.
6.
7.
Step Seven: The Finish Line
Stitch along the bias binding, trapping the triangles in. Repeat until each triangle is attached to your bias bunting.
Step Eight: Fin
Once each triangle is secured your bunting is ready to be hung. Be sure to cut any loose threads and you're finished. Get the BBQ at the ready, it's time for a party!





_0824_RETOUCHED?fmt=auto&qlt=default)
