How To… Make A Heart Garland
This Valentine’s Day, express your feelings with a homemade garland to wear your heart on your wall (or mantelpiece, or above your bed)…
Read more
How to...Make a Heart Garland
This Valentine’s Day, express your feelings with a homemade garland to wear your heart on your wall (or mantelpiece, or above your bed)…
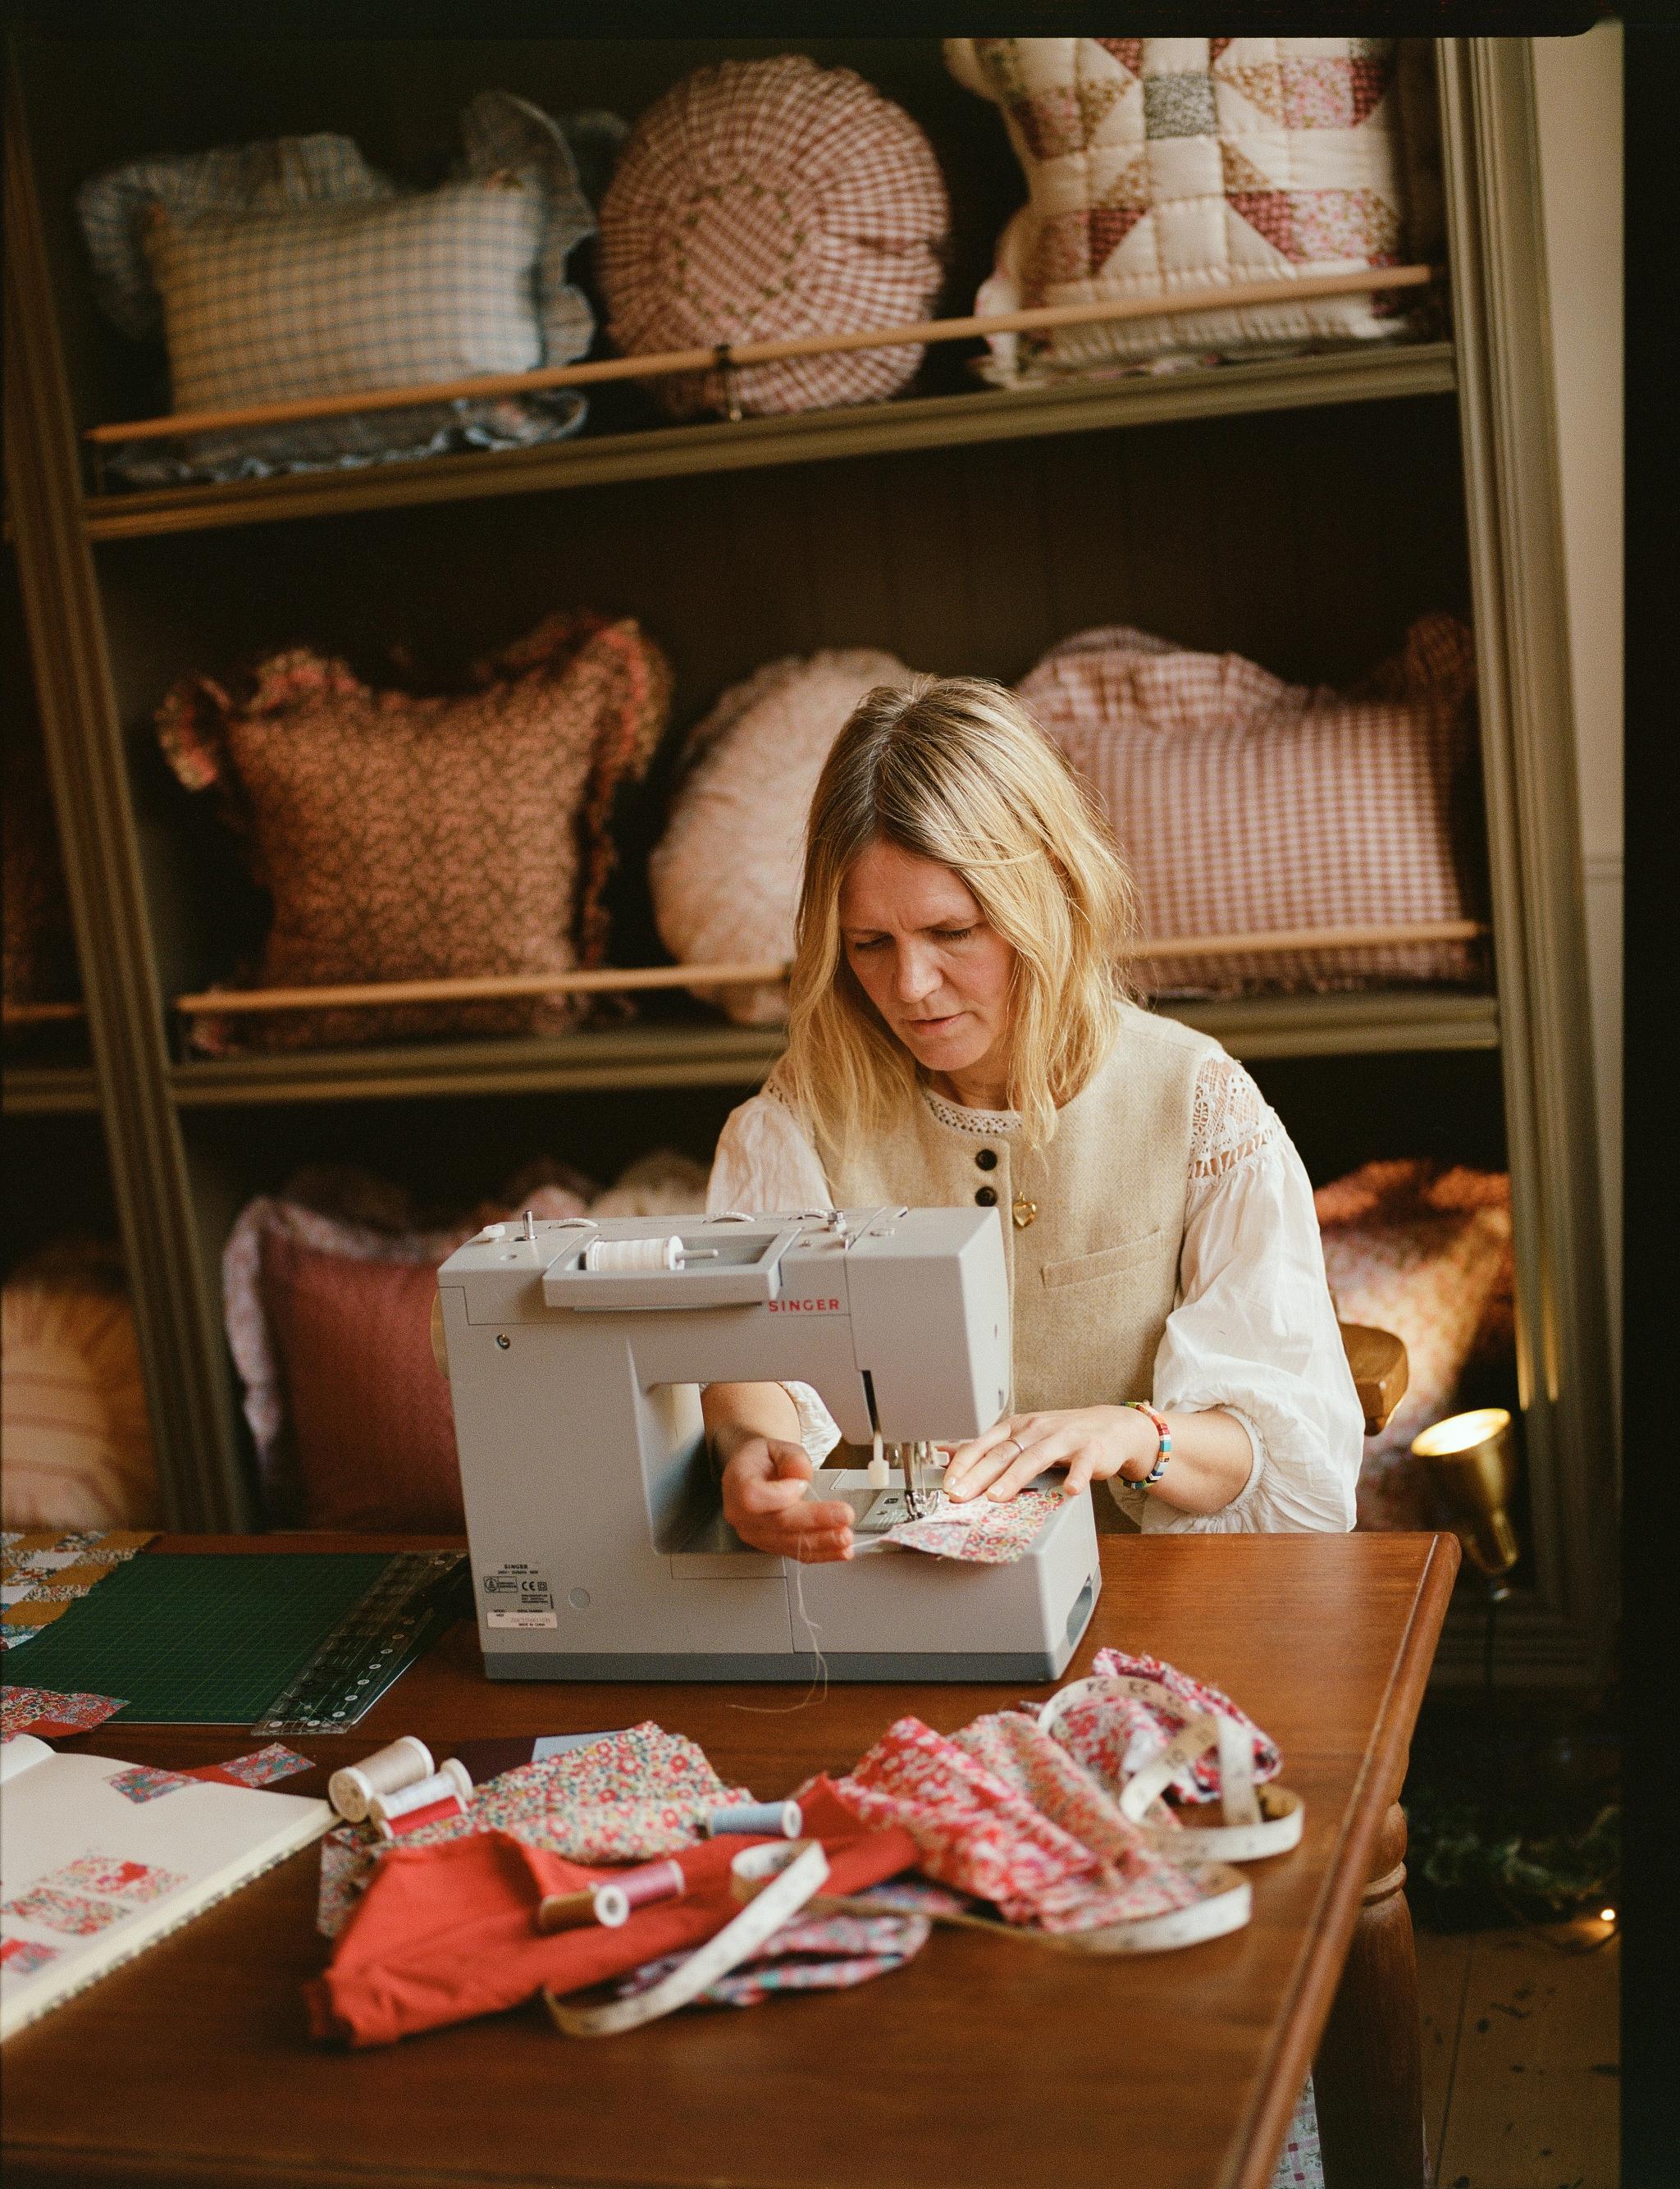
By: Team LibertyLooking for cutesy, ultra-personalised way to show you care? For Valentine’s Day 2023, craft gifting is the way to go. The #LibertyCraftClub heart garland project features a simple yet striking design, suitable for sewing novices and craft experts alike – ready to be strung up on the wall, to spell it all out in bold colour and print. Simply select your favourite of our Liberty in Love Valentine's Day fabric collection and get crafting.
You Will Need:
Add personalised applique lettering to your heart garland, to say it with feeling.
Step 1
First, plan how many hearts you will need – this could be to fill a certain wall space, mantel, or to spell out a particular message (ours will say “I ♡ Liberty”, of course). You will need two cut-out hearts per garland heart, for the front and the back sections.
Step 2
To create a paper template for your heart: fold a piece of paper and cut a curved half-heart shape towards the central fold - then fold flat again to see your heart shape. Fold the heart in half again and trim further to tidy up the shape, if you need to.
Step 3
Next, lay your paper heart template onto the fabric you want to use, and cut around it. (You can mark out first with pencil or chalk – but do this on the reverse side of the fabric, so any remaining marks won’t be visible). Tesselate the hearts together, to save material and reduce waste.
Step 4
If you will be appliqueing a message or name onto your garland, do this now – a plain fabric will stand out nicely on your printed heart design (or vice versa).
Step 5
Cut your ribbon and fold in half, pinning the ends together in the cleft of the heart. Then pin the front and back pieces of your heart together, with the patterned side facing inwards. Leave roughly a 0.5cm seam allowance around the edge, and a 3-5cm opening to add the inner stuffing.
Step 6
Stitch around your heart, following the 0.5cm seam allowance, and leaving space for the opening. Then trim around the edges to neaten (making sure not to cut into the stitches).
Step 7
Carefully turn the stitched heart inside out, and fill with batting or stuffing. Then hand-stitch the opening shut with a needle and a matching thread.
Step 8
Repeat these steps to create more hearts, and then string them onto a ribbon and hang them up. Voila!


