How to… Make Bunting for Your Summer Celebrations
Put a #LibertyCraftClub spin on your summer party decorations using our expert guide to making your own bunting
Read more
How to… Make Bunting for Your Summer Celebrations
Put a #LibertyCraftClub spin on your summer party decorations using our expert guide to making your own bunting
By: Charlotte Olby
No summer party, whether hosted indoors or in the garden, is complete without plenty of bunting to set the scene, so why not put your #LibertyCraftClub skills to the test and Liberty-style affair with hand-crafted decorations of your own. Whether you’re a craft connoisseur or blossoming beginner (where have you been?); our expert step-by-step guide on how to make bunting will make crafting a breeze. Plus, it’s the perfect way to add a personalised touch to your 'do, and gain you some bragging rights with your friends. Scroll on to discover our steps on how you can create some lovely bunting of your own - all that’s left to do is to select your favourite print, and get making.
Read More: Liberty's DIY Party Craft Ideas
The Kit List:
1.
Step One: Create a Template
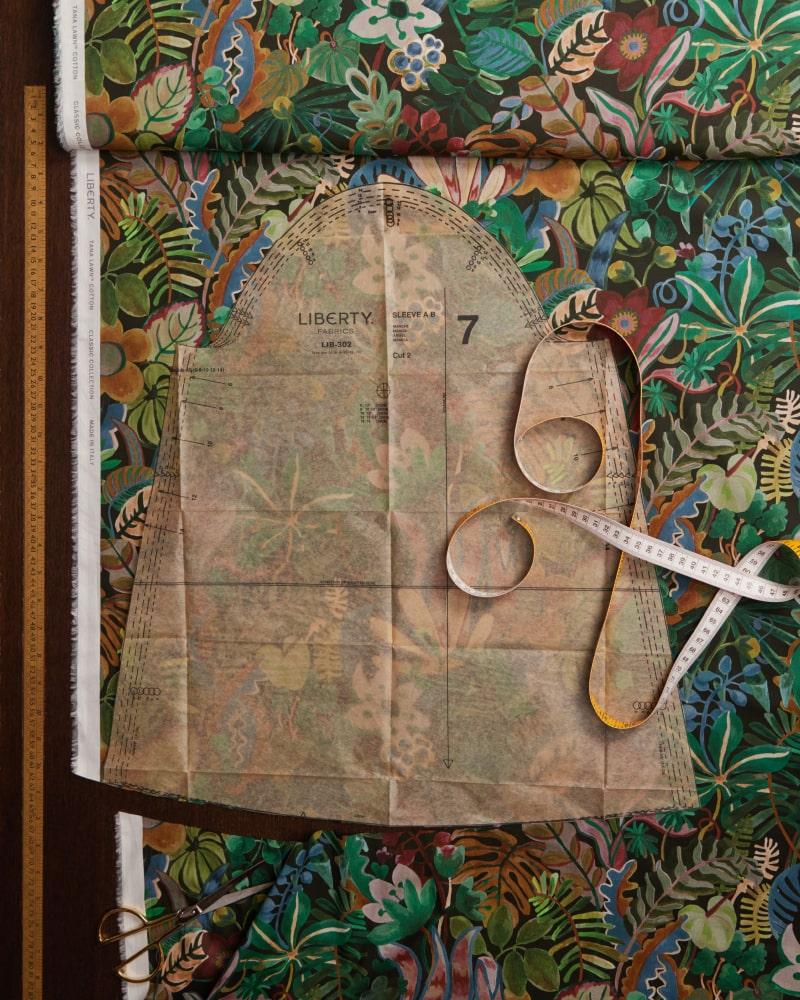
Cut a paper template for yourself and use this to trace out triangles of fabric, made to your desired size.
Read More: The Sewing Kit Essentials Every Crafter Should Own
Step Two: Cut Your Triangles
Cut as many triangles as you’d like (depending on how long you want your bunting to be) in pairs, i.e. two pieces of fabric per triangle.
2.
Read More: How To... Make a Napkin with a Ruffle Trim
3.
Step Three: Stitch ‘em Up
Pairing right sides together, stitch along the two longer sides leaving the top section open.
Read More: A Beginners Guide to Understanding Sewing Terms
Step Four: To the Point
Snip off the bottom point (this makes it easier to get a point when turned right way around) and turn inside out, right sides out, and use a pin to poke out the point fully. Repeat all steps for each triangle.
4.
Read More: How To... Sew a Dress
5.
Step Five: Press Ahead
Measure out how much bias binding you want to use - this depends on how long you want your garland to be. Iron the binding and press each triangle so that your edges are neat to work with and ready to assemble.
Read More: Your Sewing Question and Answers Answered by Liberty's In-Store Experts
Step Six: Tuck Under
Cut the top edge points of triangles so that they can be tucked under the bias binding neatly and slip each triangle under your bias binding fold and pin.
6.
7.
Step Seven: The Finish Line
Stitch along the bias binding, trapping the triangles in. Repeat until each triangle is attached to your bias bunting.
Read More: Craft Therapy: Why Making Things is Good for You
Step Eight: Fin
Once each triangle is secured your bunting is ready to be hung. Be sure to cut any loose threads and you're finished. Get the BBQ at the ready, it's time for a party!






_0824_RETOUCHED?fmt=auto&qlt=default)


